


Guest blog article written by Steve Loosley, Tech Blogger
I want you to learn to use the Google+ bar, the black ribbon that appears at the top of many Google websites, such as search and Gmail. I want you to learn to save time and avoid frustration.
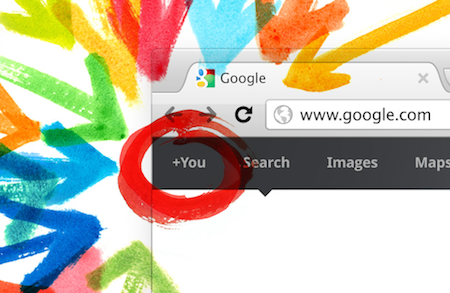
A screenshot from a Google search page is shown below. The black ribbon at the top is the Google+ bar.
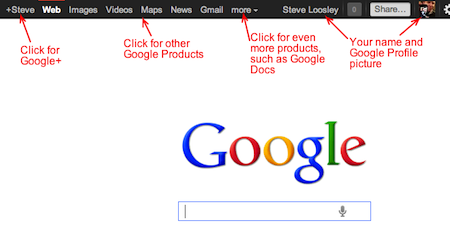
If you're signed in to your Google account, on the far left, you will see +[Your First Name]. On the right, you'll see your Google Profile picture.
Click on any item to open the associated Google product.
Click +[Your Name] to open Google Plus. Click Web to search, Gmail to open your mail, and so forth. If you want to open a Google product that is not visible, click on More and a drop-down menu will open. For example, click More and then Documents to open Google Docs.
I find this to be a welcome time saver, a quick and efficient way to navigate between Google products.
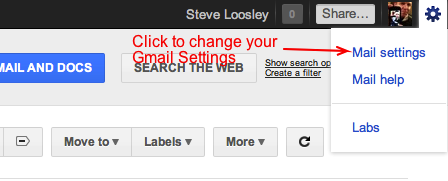
The gear on the far right is reserved for modifying the settings. These settings change as you change products, Gmail settings for Gmail, Calendar settings for Google Calendar, and so forth.
A screenshot from Gmail is shown below. Clicking on the gear opens a drop-down menu that allows you to adjust your Gmail settings.
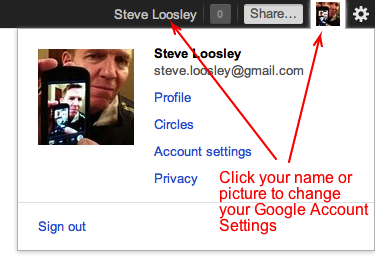
To modify your main Google Account settings, such as your password, click on your picture or your full name (far right). As you can see in the screenshot, a drop-down menu allows you to change your Account settings and Profile.
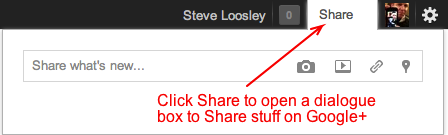
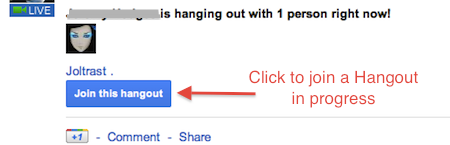
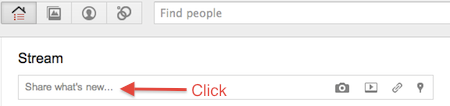
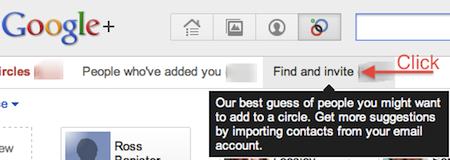
The items between your full name and picture are dedicated to Google Plus. Click Share, like the screenshot below, to share something on Google+.
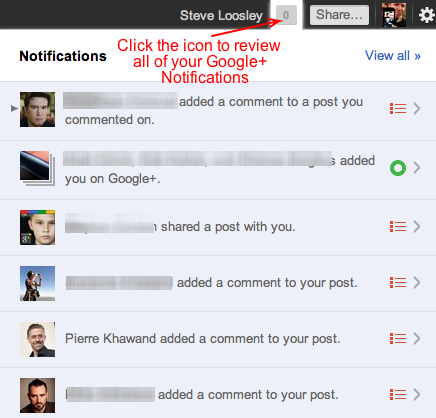
The box between your full name and Share alerts you of G+ notifications. Click the box to review and interact with all of your Google+ notices.
Good work! This is a lot to digest in one post. Experiment. Click the icons. I hope you find the new Google+ Bar a useful tool to enhance your productivity.
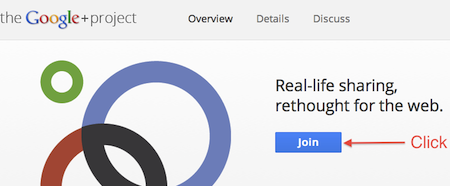
If you would like an invitation to join G+, please leave a comment below, note your interest, and we’ll do our best to make sure that you receive an invitation email as soon as possible.
Additional Resources
Google+ Help Articles on the Google+ Bar
Accomplishing More With Social Media Webinar Series: 9/19, 9/26 (12:00 to 1:30 pm Pacific Time)
LinkedIn for Sales Professionals! Webinar: 8/5 and 10/14 (9:30 am to 11:00 am Pacific Time)


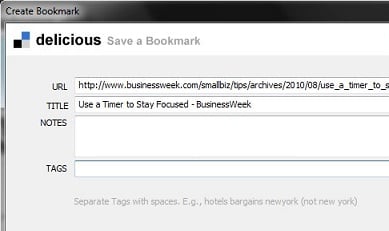

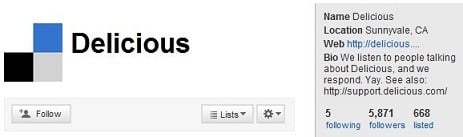
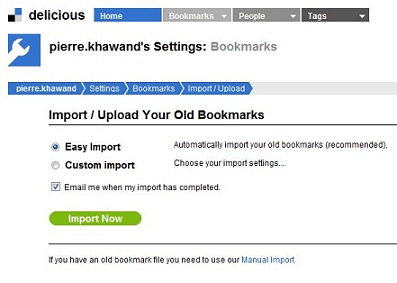
 If you haven't ventured yet into Social Bookmarking, a whole new adventure is awaiting you. Social Bookmarking platforms like Delicious not only let you bookmark web pages for future reference, but also tag them, add your notes, and share them with the world.